
Getting Started
Overview
Onboarding with Prescient involves just a few quick steps. Here’s what you’ll do next:
- Sign in
- Connect your data sources
- Invite team members
- Validate your metrics.
This guide walks you through the entire process so you can start using Prescient for data-driven insights as soon as possible.
TipFor help with specific data connectors (Google Ads, Facebook, Shopify, etc.), visit the Connector Setup article.
First Login & Setup
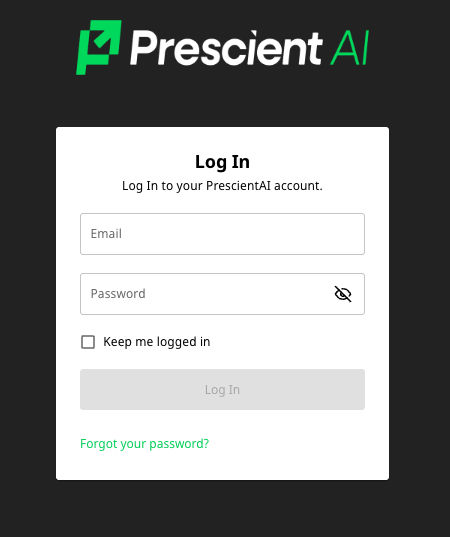
Step 1: Sign in to Prescient using the log in credentials you created via your organization's invitation email.
If you have not received an invitation email or are encountering difficulties creating an account, please contact your Customer Success Manager (CSM) for assistance.
Step 2: Once logged in, click the Connect Channels button to begin adding your data sources.

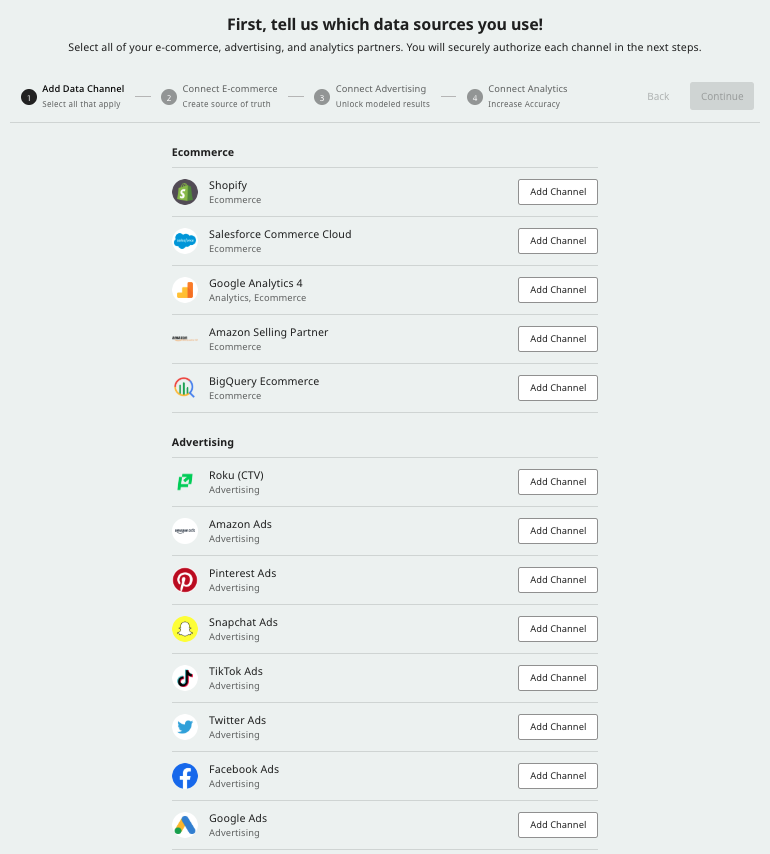
Step 3: Select all relevant data channels you wish to connect, and click Add Channel to include them in your list of sources for connection.
Data channels are categorized into Ecommerce, Advertising, and Analytics. At least one channel from each category must be selected to proceed.
After finalizing your selections, click Continue to enter the required access credentials.
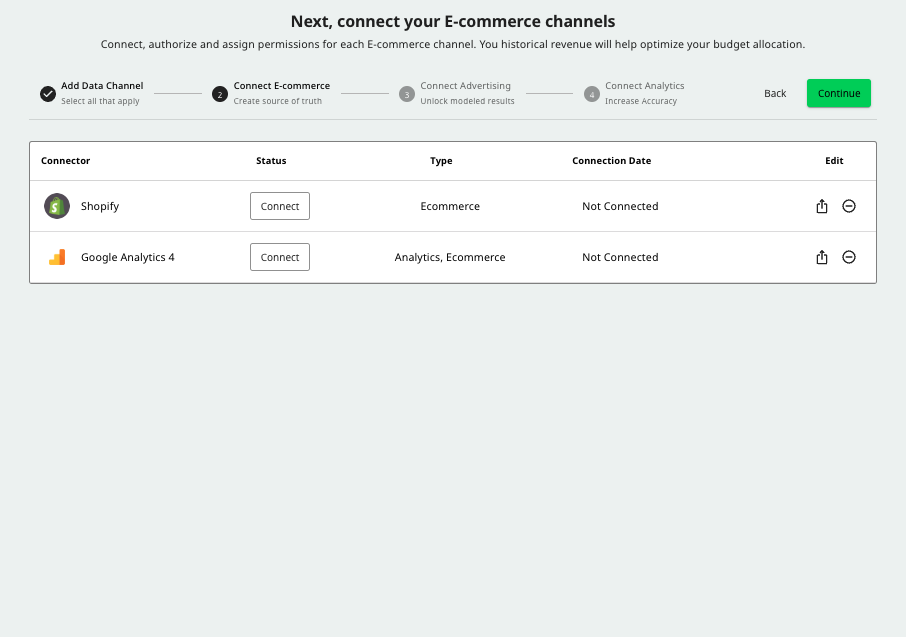
Step 4: Connect your Ecommerce, Advertising, and Analytics channels.
To connect your data channels, click the Connect button next to each selected source. This will open a separate screen prompting you to provide credentials, select accounts, and confirm data access.
If you don't have the necessary credentials, you can assign the connector to another team member using the Share icon. Team members can be added via the Members page in the Settings section.
If you selected Google Analytics as an analytics source, you can also connect that during the Ecommerce step.
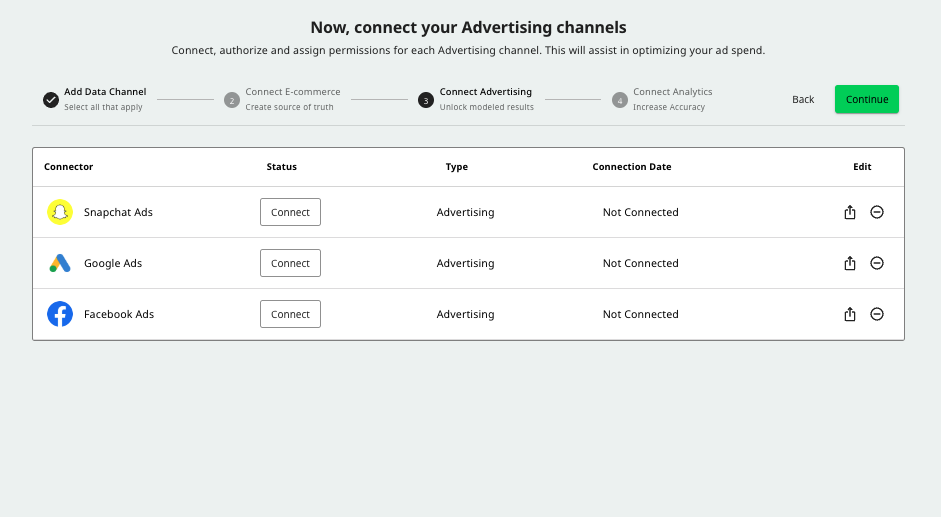
Complete the process by clicking Continue and repeating the steps for Advertising and Analytics channels.
If you run into any issues, reach out to your CSM or visit our Common Data Issues & Prevention page. and Connector Setup pages.
Ecommerce Connection Screen:
Advertising Connection Screen:
Analytics Connection Screen:
Your data is now syncing!
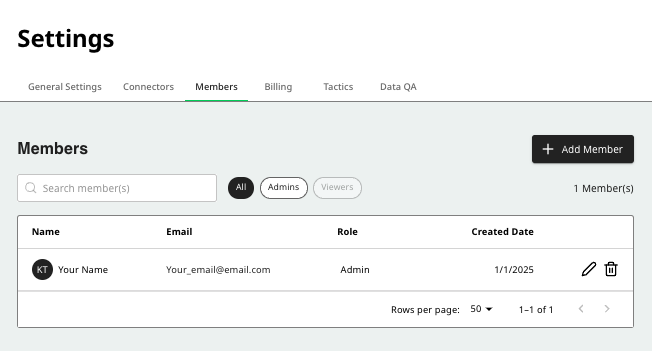
Once all selected data sources are connected and syncing, navigate to the Members tab (Settings > Members) to add your team by clicking the + Add Member button."
For detailed instructions on managing team permissions, refer to our Members & Billing Guide.
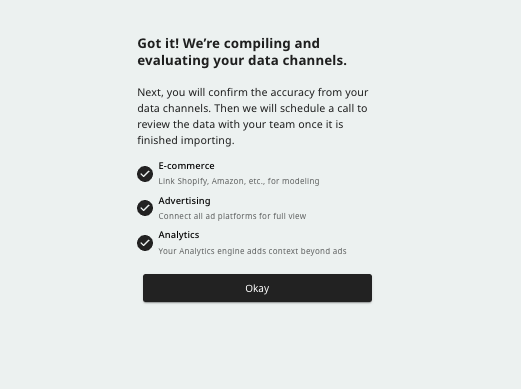
SuccessAfter completing these steps, notify your CSM that your data sources are fully connected.
Our team will monitor the sync process on the backend and notify you when data is ready for validation and modeling.
Validating Data Before the First Model Run
Ensuring the accuracy and integrity of your synced data is an essential step before running your first model. Our streamlined Metrics QA process enables you to validate your data directly in the platform.
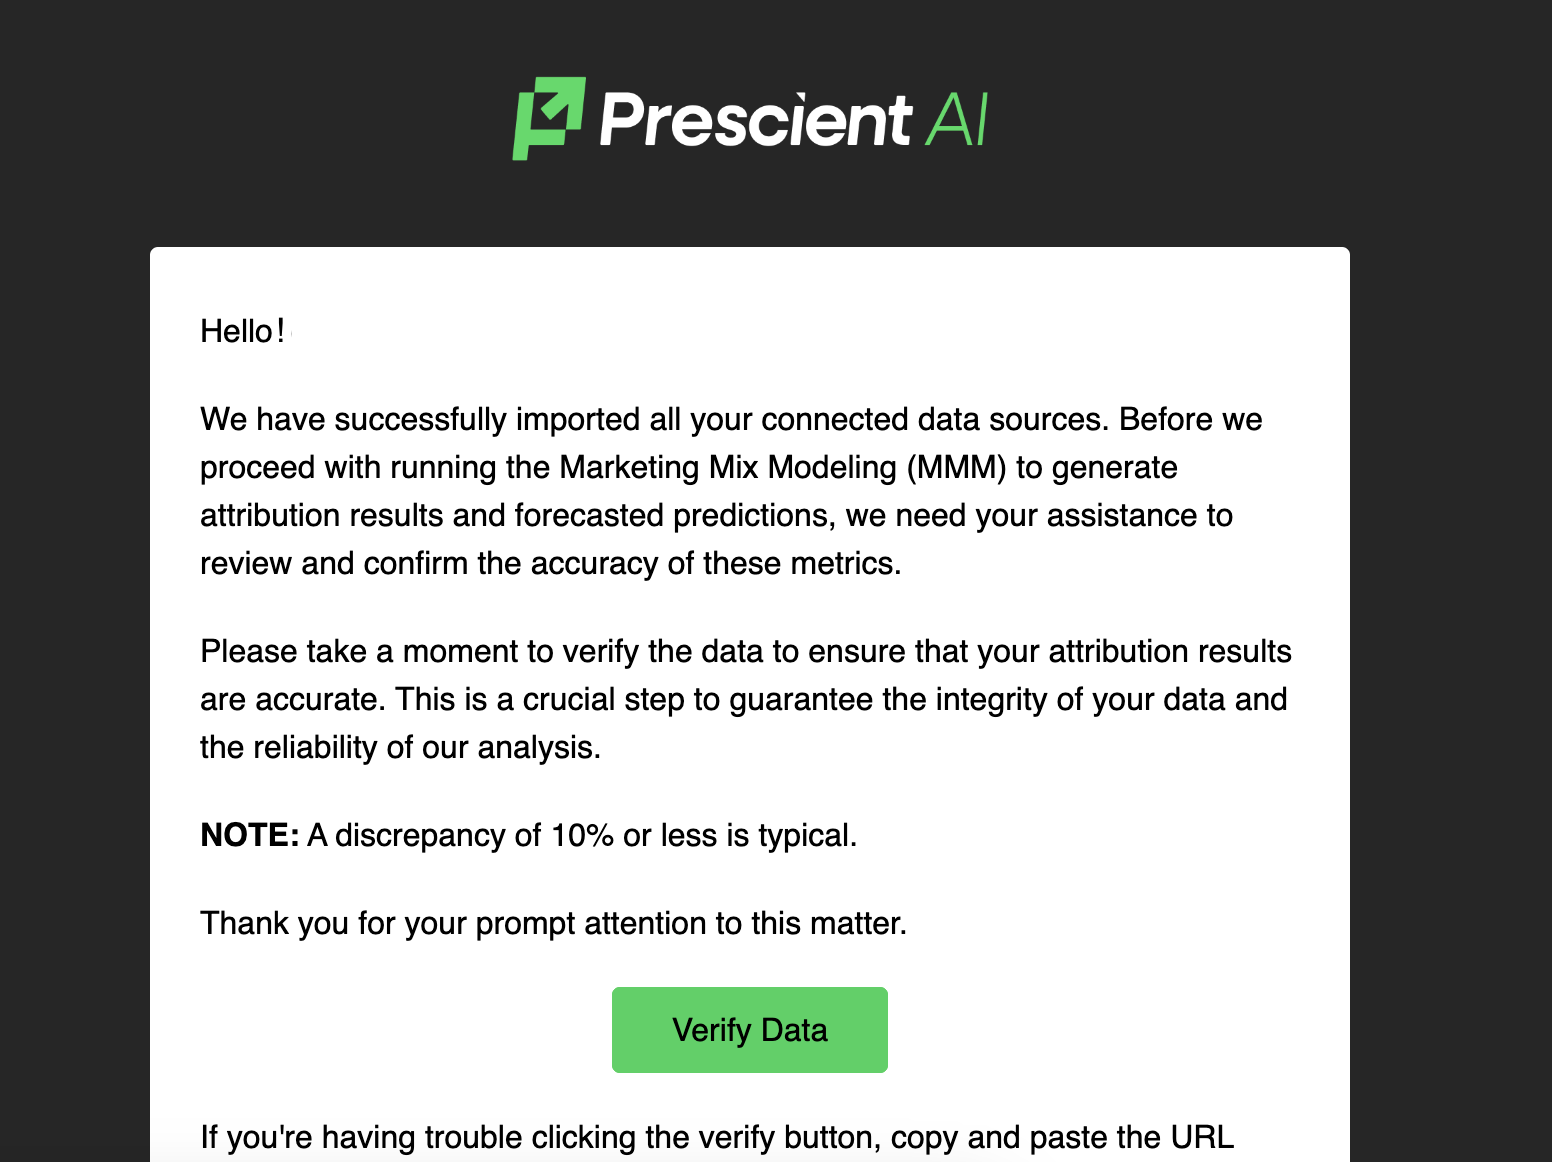
Step 1: Once all your data has finished syncing, a notification will be sent to all organization admins. You'll receive an email letting you know that your data is ready for validation.
If you're an admin, simply click the link in the email to start validating your data. Alternatively, you can log into the Prescient platform to access the Metrics QA section directly.
Step 2: Navigate to the Metrics QA section on your dashboard, where you'll find a six-month summary of your reported data, organized by channels (eCommerce, Advertising, and Analytics).
Review the metrics displayed for each channel and ensure they align with your expectations. For each metric, click Accept if the data matches your expectations, or Decline if adjustments are needed. If you decline a metric, you'll be prompted to provide the expected value for comparison.
All metrics must be addressed—either accepted or declined—before proceeding. Any unresolved metrics will keep the Verify Metrics screen active until they are resolved.
Step 3: Once all metrics are resolved, click the Submit button to finalize the data validation process.
If you'd like additional support, you can schedule a review with your CSM via the Schedule a Review link provided in the QA section.
Step 4: Once you've submitted the validated metrics, you'll see a success message on your dashboard confirming that your data is ready for modeling.
This notifies our internal team to review and initiate your first model run. If any discrepancies were flagged, your CSM will work with you to resolve them before proceeding.
SuccessOnce you’ve completed your metrics QA, your model can go live, and you can begin using Prescient’s insights to improve and optimize your marketing spend.
Common Questions
Will I Need My Dev Team to Help Me?
Usually, no. In most cases, you just need login credentials for your revenue, analytics, and ad sources. For custom data ingestion, you may need dev assistance, but most standard connectors require little to no developer support.
How Long Does it Take My Data to Sync?
It varies by organization size, spend volume, and data quantity. Many connectors complete within a few days. For detailed connector-specific timelines, visit Connector Setup.
How do I invite my team?
- Go to Settings > Members.
2. Click+ Add Member.
3. The invitee will receive an email to create an account.
4. Admin and Viewer permissions are detailed in Members & Billing page.
I can't connect my data source, can you walk me through it?
Refer to Connector Setup for step-by-step instructions. If you still have trouble, reach out to your CSM for personalized support.